Maps Tutorial
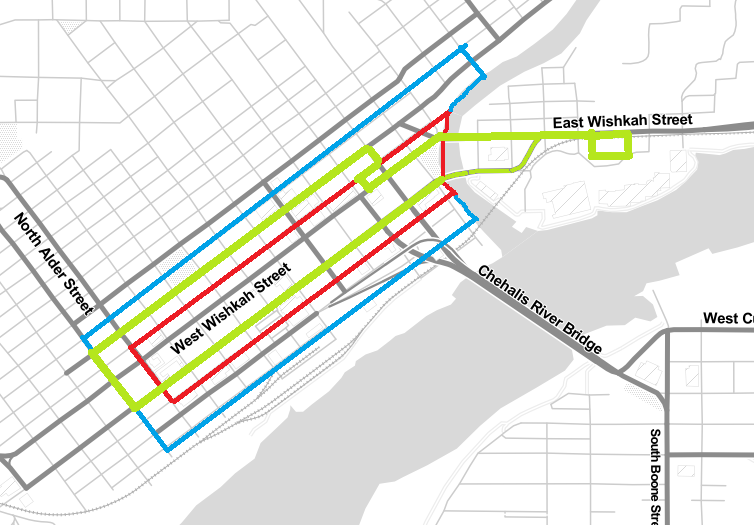
For my recent post titled Defining "Downtown", I made a total of ten new maps. Three were versions of Map1 and seven were versions of Map2. A total of three of those made it into the post, plus a fourth map I had created previously and re-used (the edited zoning map).
I start by just making a screen shot of the Stamen Design map. Keep in mind that the map tiles for the Stamen Design maps haven't been updated in a decade or more, so they may not be adequate for some purposes. For somewhat zoomed out semi-regional maps, they seem to frequently be just fine for my purposes.
I try to center the map such that I can readily remove all the bright yellow buttons and such when I cut the map down to the section that interests me. I paste the screen shot into Paint and immediately save it with a descriptive "Map1" name of some sort, in this case DefiningDowntownMap1. As I do edits, I append that to keep different versions of the map.
This is the initial screen shot I made for the first map and the next two maps are titled DefiningDowntownMap1.1 and DefniningDowntownMap1.1WAVE. Only one of these ended up in the post. I didn't actually use the WAVE map from this map and, instead, used a WAVE map from the Map2 map.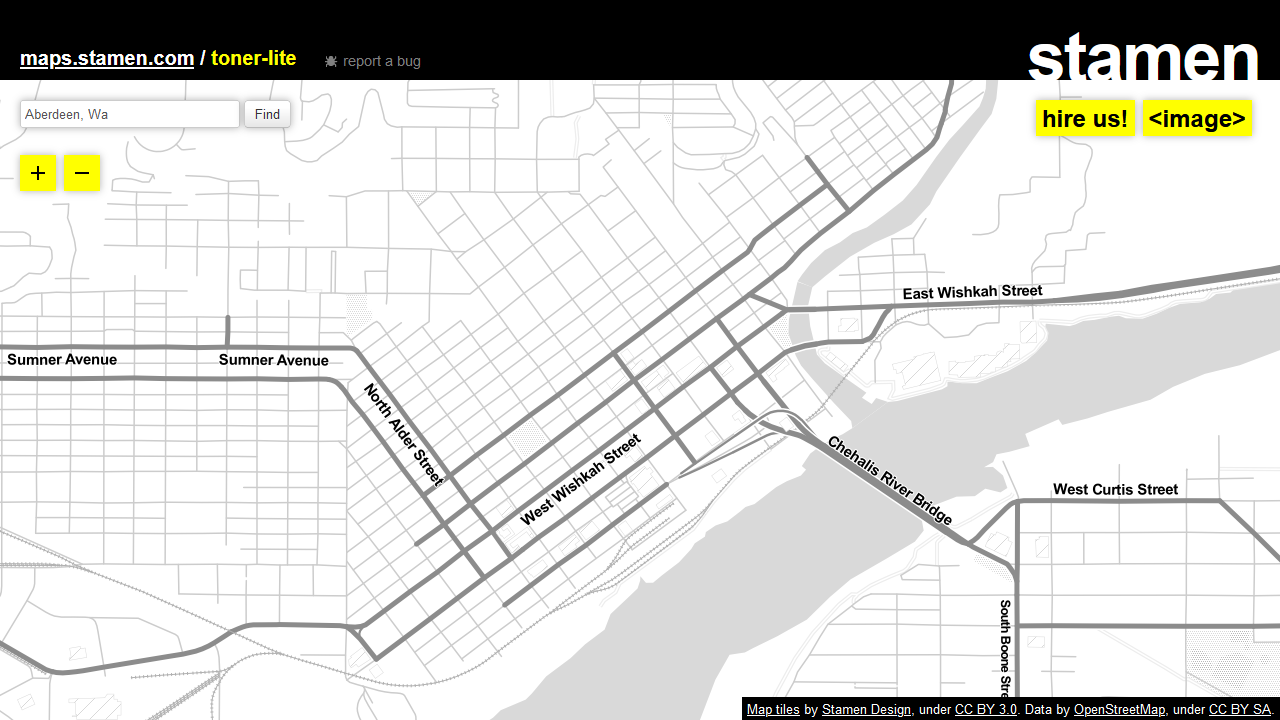

 If you don't know much about maps, I will recommend this previous post to give some important essentials: Maps and Mental Models. If the Stamen Design maps aren't doing what you need, you can also use Google Maps and there are various open source maps out there.
While Geographic Information Systems (GIS) are complicated, making a screen shot of a map and making some edits in Paint doesn't have to be. Just make sure it's LEGAL to use and edit those maps.
I use a free tool called Color Cop to help me match colors when necessary. Beyond that, I'm basically somewhat talented with Paint because I've used it for editing maps for a lot of years.
Expect this to take some time. Expect to make mistakes. Expect to save somewhat frequently under different version names.
I start by just making a screen shot of the Stamen Design map. Keep in mind that the map tiles for the Stamen Design maps haven't been updated in a decade or more, so they may not be adequate for some purposes. For somewhat zoomed out semi-regional maps, they seem to frequently be just fine for my purposes.
I try to center the map such that I can readily remove all the bright yellow buttons and such when I cut the map down to the section that interests me. I paste the screen shot into Paint and immediately save it with a descriptive "Map1" name of some sort, in this case DefiningDowntownMap1. As I do edits, I append that to keep different versions of the map.
This is the initial screen shot I made for the first map and the next two maps are titled DefiningDowntownMap1.1 and DefniningDowntownMap1.1WAVE. Only one of these ended up in the post. I didn't actually use the WAVE map from this map and, instead, used a WAVE map from the Map2 map.
While Geographic Information Systems (GIS) are complicated, making a screen shot of a map and making some edits in Paint doesn't have to be. Just make sure it's LEGAL to use and edit those maps.
I use a free tool called Color Cop to help me match colors when necessary. Beyond that, I'm basically somewhat talented with Paint because I've used it for editing maps for a lot of years.
Expect this to take some time. Expect to make mistakes. Expect to save somewhat frequently under different version names.
Comments
Post a Comment